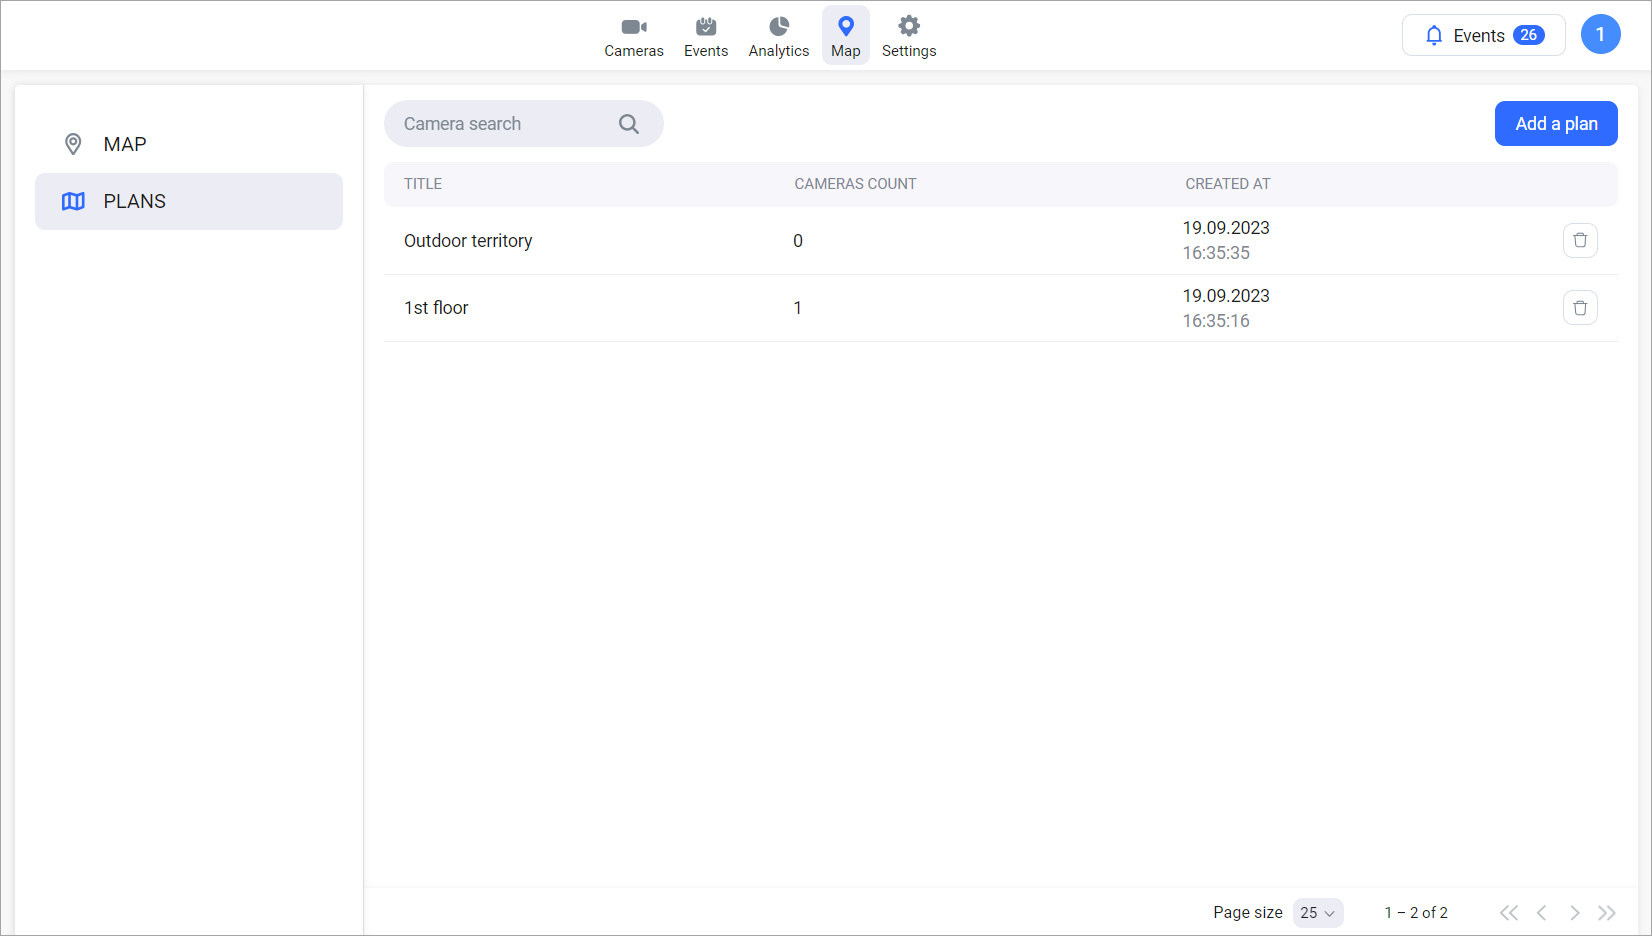
«Plans» subsection
This section is designed to demonstrate the placement of cameras on a plan. Any user image can be used as a plan, such as a floor plan, building layout, or the area around a building.
When you navigate to this section, a table is displayed that shows:
Plan name
Number of cameras on the plan
Date of plan creation

List of plans
Clicking on a row will take you to the page for viewing and editing the plan. The description is provided below.
Adding a plan
To add a new plan, click on «Add plan».

Adding a plan
This will take you to the page for adding a new plan. Perform the following steps:

Adding a plan
Enter the plan's name
Upload an image
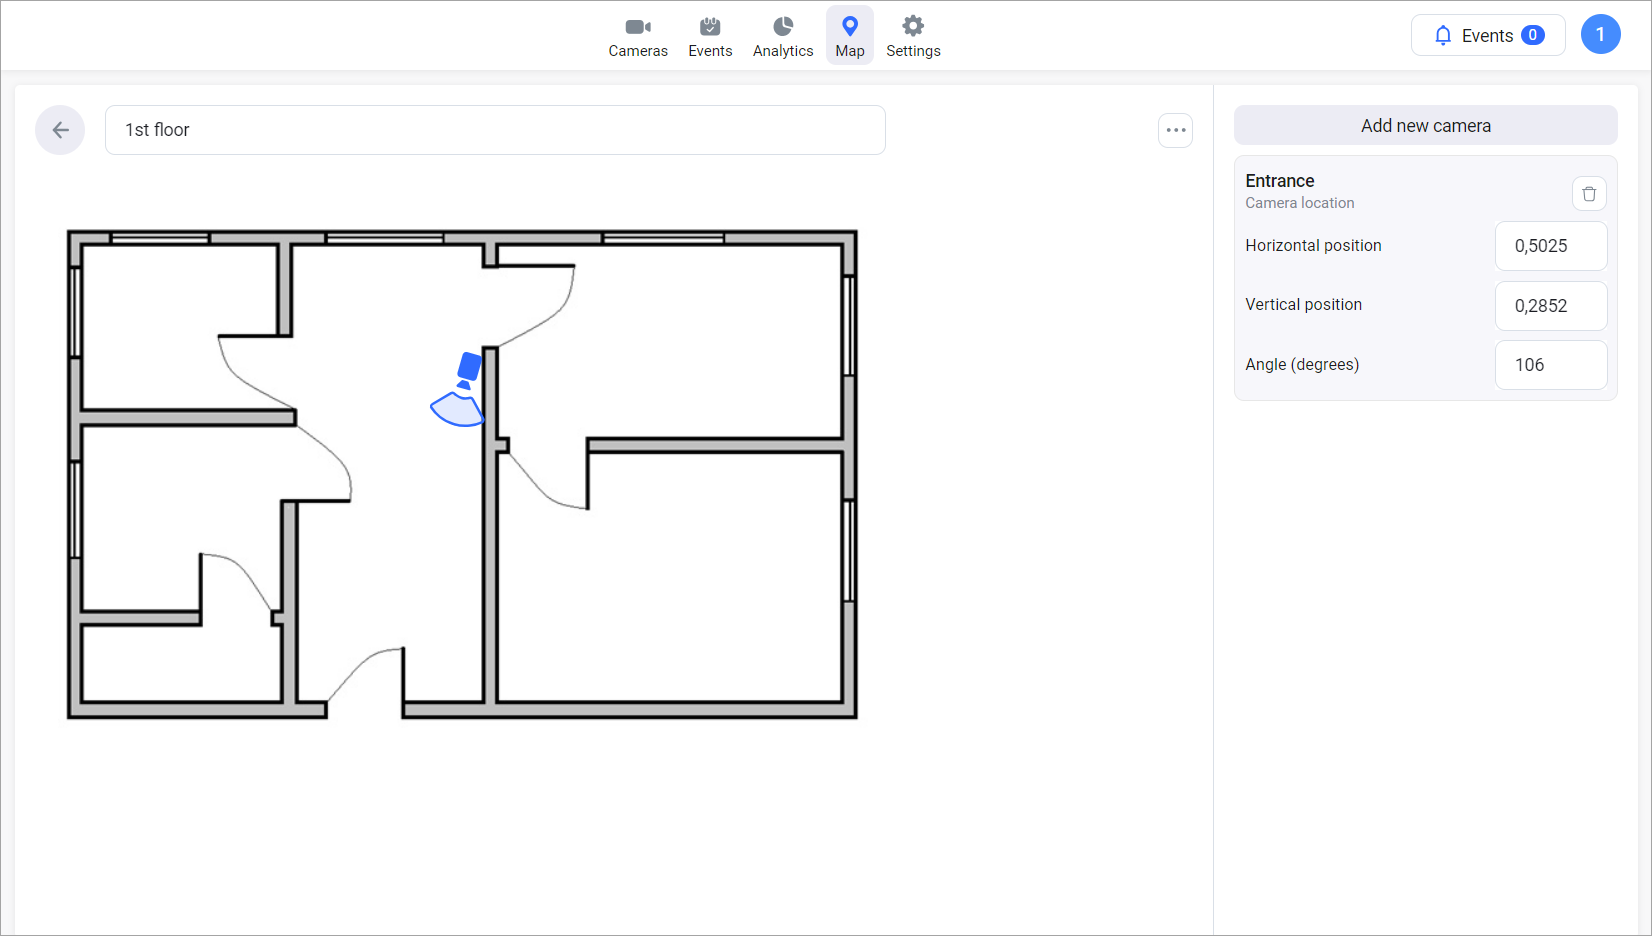
Click «Add new camera»:
From the camera list, select the camera you need
Position the camera on the map by moving the camera icon on the image or specifying its coordinates in the «Horizontal position» and «Vertical position» fields
Adjust the camera angle using the slider or entering a value in the «Angle» field
If you need to add additional cameras, repeat the above steps
To complete the plan creation, click the save button
To delete an image for uploading a new one, click the button to access additional functions and select «Delete image».

Deleting an image
To view or delete an added camera, click on the corresponding icons in the editing menu below the image.
Viewing and editing a plan
To edit a camera plan, select the desired plan in the table and click on the row.
On the editing page, you can:
Change the plan's name
Upload a new image
Modify the camera locations
Add or delete cameras
Deleting a camera plan
To delete a camera plan:
Select the desired plan in the table
Click the delete button and confirm the action

Deleting a camera plan
