Add and manage user events (Android, iOS)
The mobile app allows for the quick creation of custom user events. Similar to system and analytics events, these custom user events will be displayed on the timeline and in the camera events feed.
Users can use the following tools to manage the user events:
Playback an event by selecting it in the cameras events feed or from the Events tab.
Add a user event
Users can add a user event in both Live and Archive mode if a camera has an archive. Additionally, the user should have the access level to view and create marks that is granted by the administrator.
When a user event is added, it will show up as a mark on the timeline.
To add a user event, follow the steps:
Select one of the options to start:
In Archive mode, select a relevant time on the timeline and long tap this point. This action opens the Create event form to fill in.
Drag the timeline to the relevant date and time and select the More button in the player, or simply select the More button. Next, choose Add user event. This action opens the Create event form to fill in.
The More button is active for the cameras with archive.
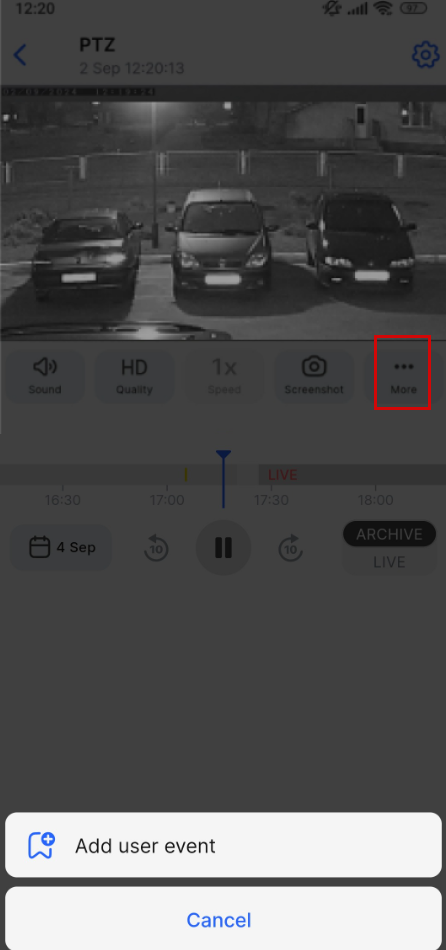
The More button
Complete the opened Create event form.
Name an event.
If required, edit the start date and time of the event. These fields are automatically prefilled based on how you set up the event. When you select a date and time directly on the timeline, the fields will reflect the corresponding date and time. When you select Add user event – the system date and time at the moment the button is tapped will be displayed.
To complete the action, select Add event.
The added user event will be displayed as a mark on the timeline and in the camera events feed. You can also track them on the Events tab > User events.
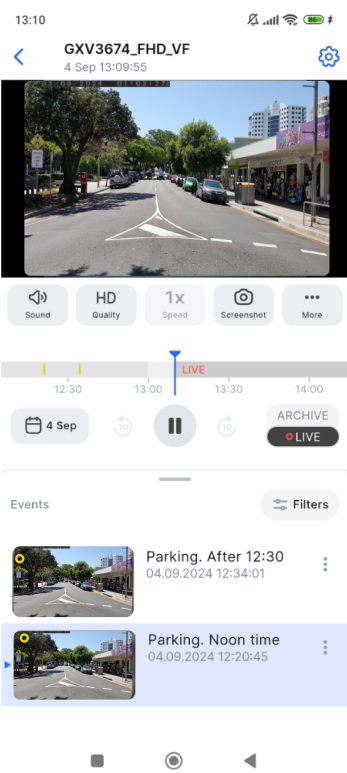
User events
Edit a user event
To edit a user event, the user should have the access level to view and create markers that is granted by the administrator.
To edit a user event, follow the steps:
Select a user event in one of the following ways:
In a camera’s player, navigate to the events feed with the user events.
On the Events tab > User events.
To call out the context menu of the selected event, tap the vertical ellipses icon (⋮).
From the opened menu, select Edit event. This opens the form to edit.
Introduce changes:
By default, the Event name field reflects the New event title. If required, edit this title.
If required, edit the date and time.
Tap Change event to save changes.
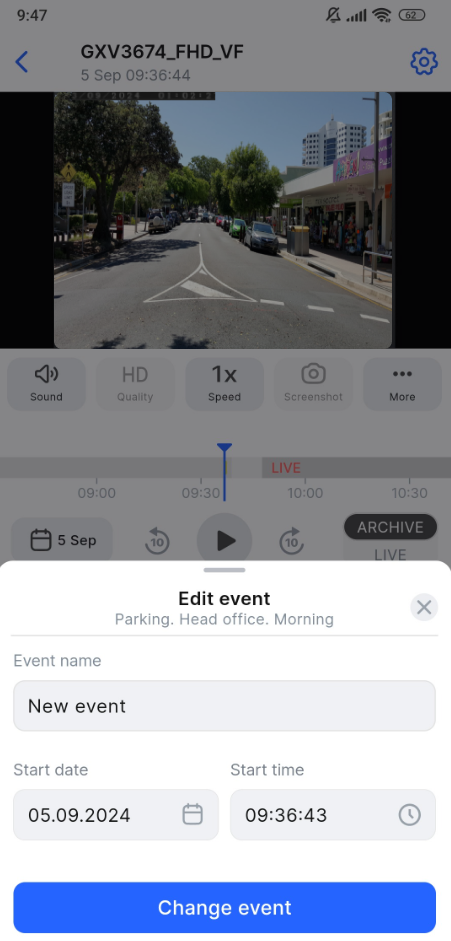
Editing an event
Delete a user event
Users can delete a user event in case they have the access level to view and delete markers that is granted by the administrator.
It’s possible to delete a single, several, or all user events.
To delete a single event, follow the steps:
Select a user event in one of the following ways:
In a camera’s player, navigate to the events feed with the user events.
On the Events tab > User events.
To call out the context menu of the selected event, tap the vertical ellipses icon (⋮).
From the opened menu, select Delete event.
Confirm the action in the opened dialogue window by Delete. To cancel the action, select Cancel.
To delete several or all events, follow the steps:
On the Events tab > User events, tap the Delete icon at the top right.
To select all listed events, tap Select all. To choose several events, select the checkboxes of the relevant events.
To complete the action, tap Remove selected.
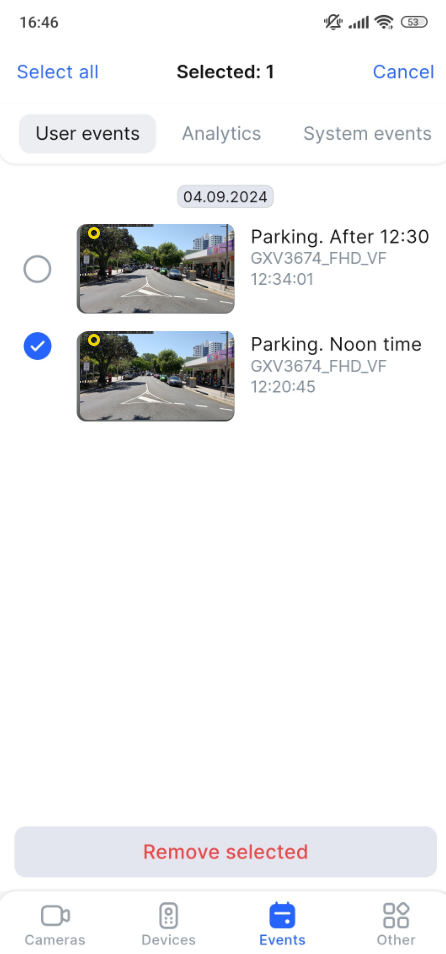
Deleting events
In the opened dialogue window, confirm the action by selecting Delete. To cancel the action, select Cancel.