System Settings
The section includes two subsections.
Permission settings
In this subsection, the following settings are configured:
The number of sessions (the number of users who can simultaneously log in to client applications and interfaces) for different types of users:
System users
Sub-users
Billing users
Logging level of actions for the following types of users:
System users
Sub-users
Billing users
Access rights configuration for the following types of users::
System users
Billing users
.png?inst-v=1d934989-adc9-47d4-b93e-1c2e7354ae81)
The Permission settings page
Each setting is saved separately.
Access rights settings are assigned by default to new users upon their first login. Subsequently, access is personalized in the user's profile.
Under Login page settings, you can enable captcha display. When this setting is enabled, users will enter an alphanumeric code on the authorization page in the web client and mobile application. The code consists of Latin upper and lowercase letters (excluding the letter 'O') and digits from 1 to 9.
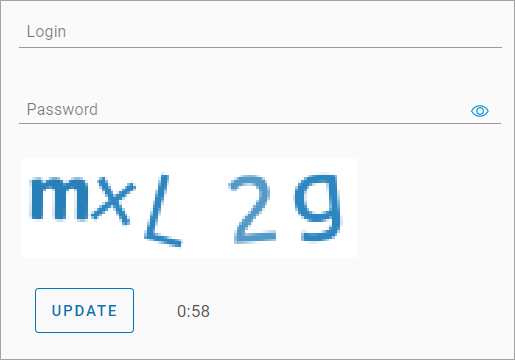
Entering a code during authorization in the web client
Under Setting up automatic adding of cameras to the map, you can enable the automatic you can enable the automatic placement of cameras on the map. The setting is applied to the cameras that are added to the platform via auto provisioning for the first time.
When this setting is enabled and the camera's geographic coordinates were specified during setup, the camera will automatically appear on the map in these sections:
Cameras > Camcorder Map
Cameras > View a camera > the General data tab
The system administrator can edit and delete the camera location on the map.
Links
In this subsection, the following settings are configured:
Placement of a link for accessing the system performance monitoring page. If an active link is present in the navigation menu, the Monitoring item will be displayed (provided the user has the necessary system access rights).
Placement of links to mobile applications with the VMS user interface in application stores. If active links are present on the login page, a download button will be displayed in the corresponding application store:
Google play for Android devices.
App Store for iOS devices.
App Gallery for Huawei devices running Android.

Links
To add a link, enter the desired URL in the corresponding field. If necessary, verify the correctness of the link by clicking the Link button. This will open a new browser tab and navigate to the specified link.
To save the link, click Save below the corresponding link.
To activate links, set the corresponding switches to the On position. To deactivate them, set the switches to the Off position accordingly.