The Plаns subsection
The Plans subsection enables the user to overlay detailed floor plans of premises, buildings, or areas. On these plans, the user can precisely mark the location and viewing angle of each camera. This feature provides a visual representation of how cameras will interact with the surrounding space.
In this documentation section, you find a comprehensive guide of how to manage plans and plan groups in the Desktop app. For details, see these pages:
Search for a plan, plan group, and cameras on plans
On the left-side panel of the Plans section, you can find the list of all your plans and groups of plans. Use the search field to find a plan, plan group, and a camera that is added to plans.
To carry out the search, follow the steps:
In the Plans section, select the Search icon.
In the opened search field, enter minimum three characters to carry out the search.
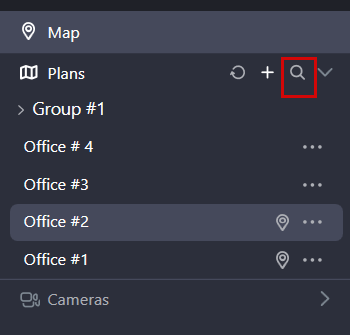
The Search icon
The search result will contain the relevant plans and plan groups. Searching for a plan will show the plan and the group this plan belongs to, if applicable. Searching for a camera will list all plans where that camera is assigned.
View a plan
To view a plan, open it in one of the following options:
Double left-click the plan name.
Select the context menu icon (…) and Open.
By default, the plan is opened in view mode. To edit the plan, select the Edit icon at the top right of the opened plan.
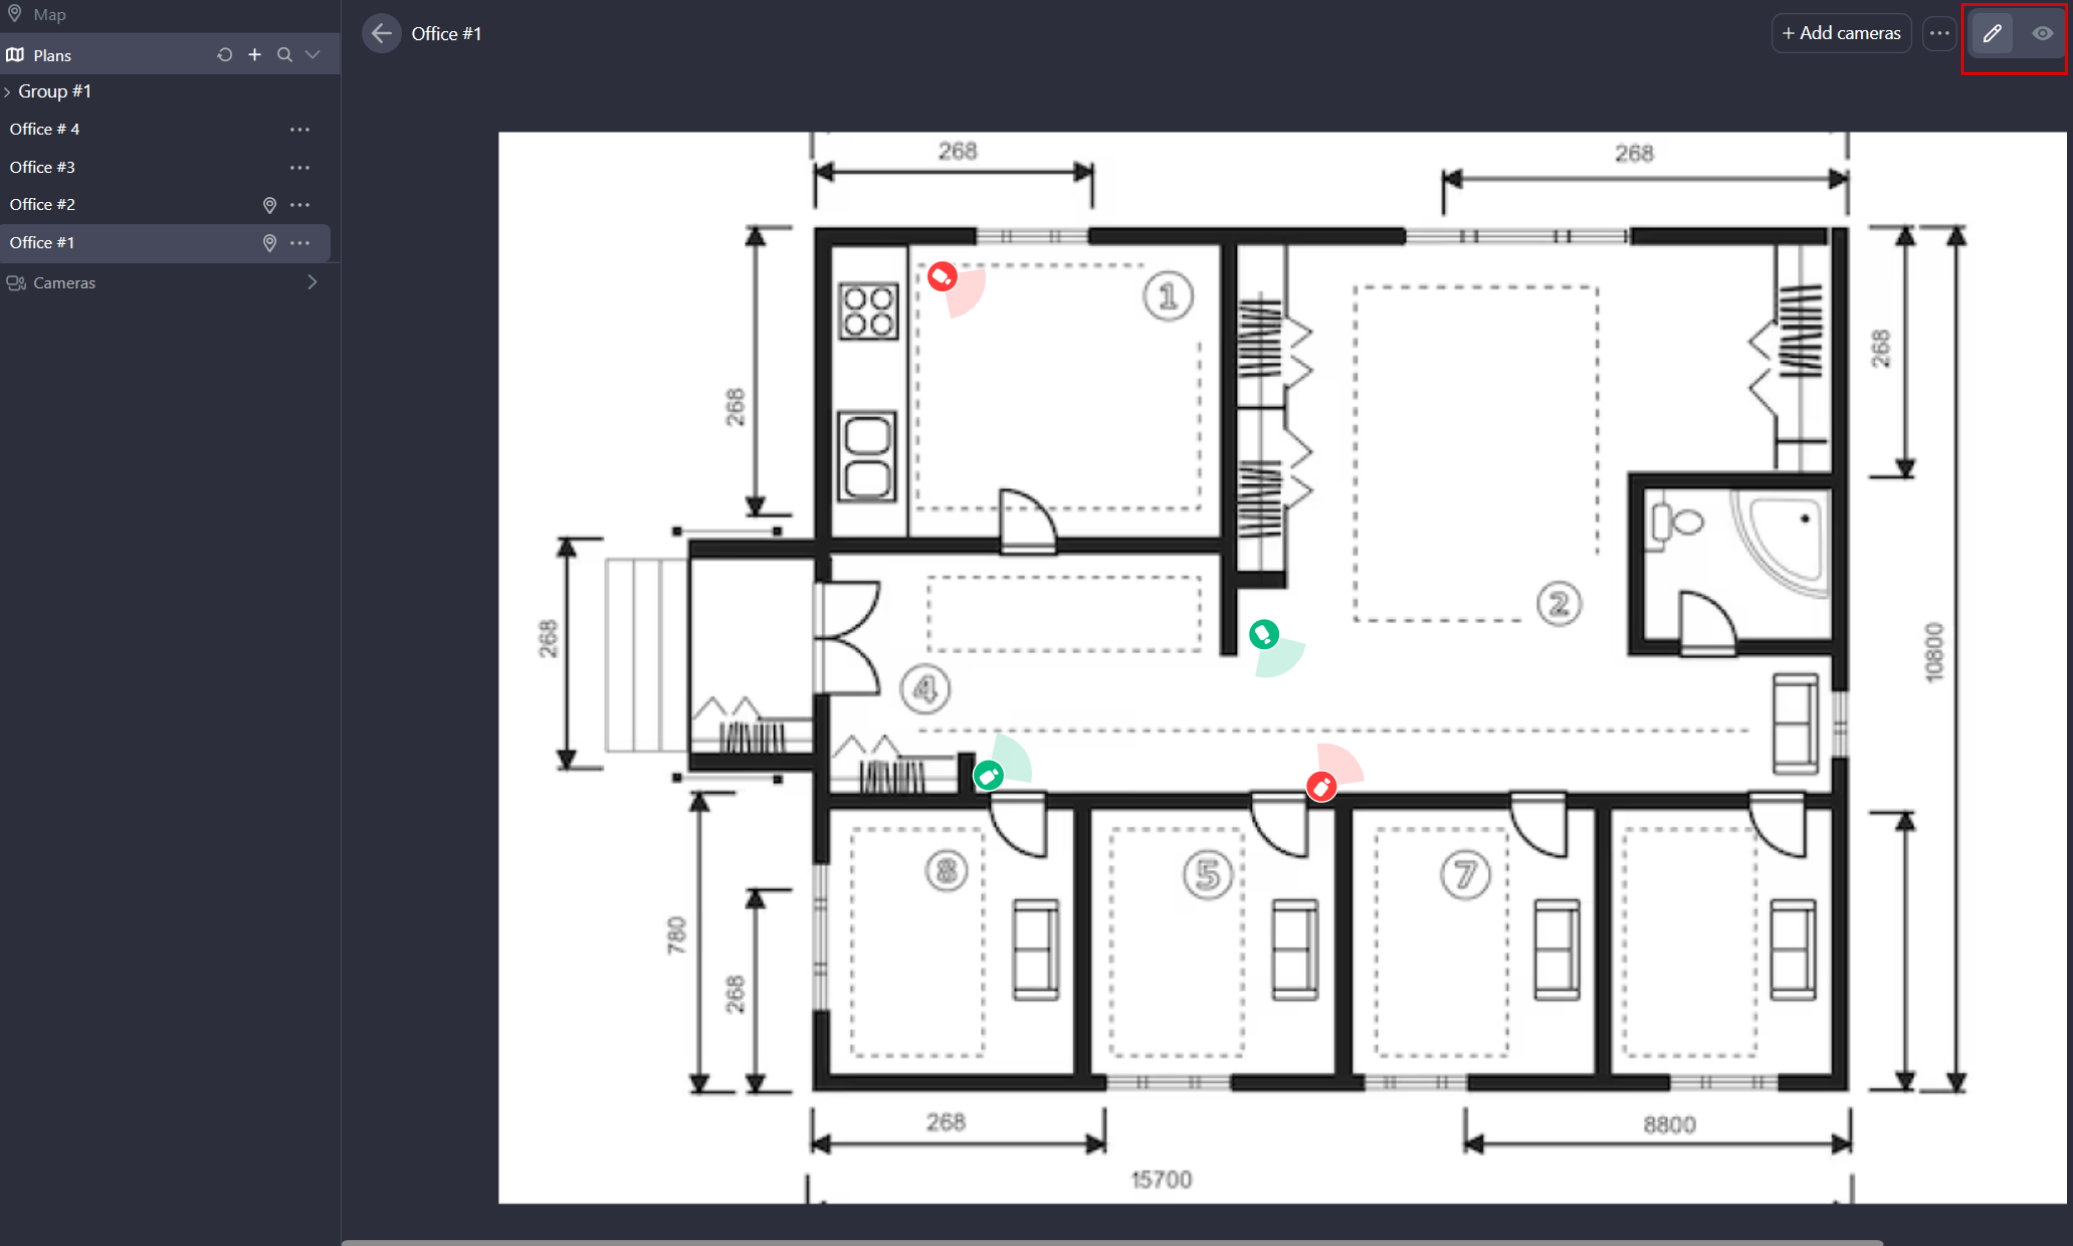
The icons to view and edit the plan
Refresh the section
To update the Plans section, select the Refresh icon.
.png?inst-v=1d934989-adc9-47d4-b93e-1c2e7354ae81)
The Refresh icon