Tree View
The following structures of a Tree View of cameras are available in the Administrator client:
A Tree View structure for cameras which is organized according to the address system of a client, an external system in this context. In this case, a branch/location in a camera tree is automatically created when corresponding methods are received from the Billing/CMS of a client. The guidelines about how to add a camera to this type of tree are further elaborated in the current documentation article.
In a Custom Tree View structure for cameras, the Administrator manually creates camera branches/locations. For details, navigate to this documentation section.

A Tree View automatically organized according to the address system of a client
The following actions are available for the administrator in this tree view:
View a list of available cameras.
Search for cameras.
Transfer a camera to other branches/locations.
Add a camera.
View and manage camera settings.
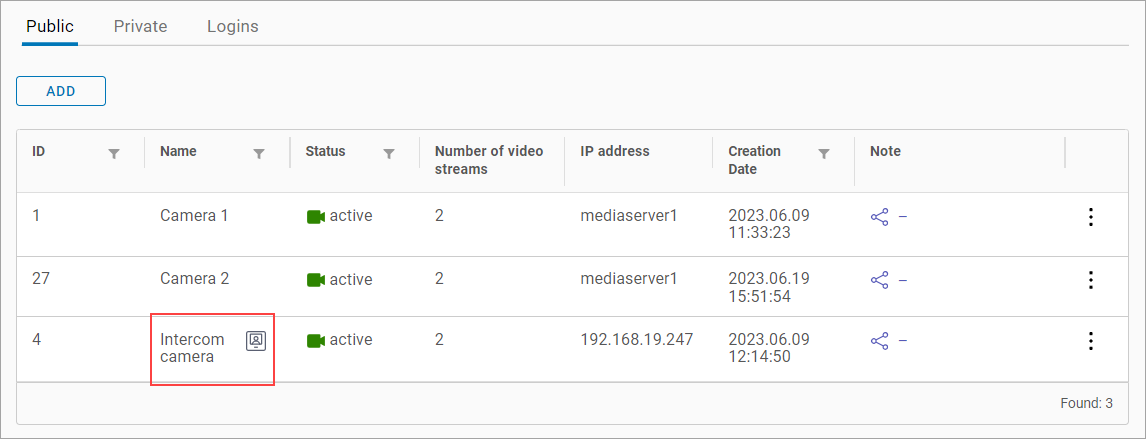
The camera is indicated with a special icon (as displayed on the image below) when the Intercom's camera setting is enabled on the General data tab of the camera details.

An intercom camera
The camera in the list will be indicated with a special icon (as on the image below) when an additional address is specified in the setting on the General data tab of the camera details.
.png?inst-v=1d934989-adc9-47d4-b93e-1c2e7354ae81)
An additional address icon
The list of cameras
The cameras are structured according to a hierarchical addressing system. This is helpful when navigating through the camera tree. The numerical identifier specifies a number of cameras associated to the specific city/street/house.
To view cameras in a specific location, find the address in the tree and select the number. As a result, all cameras of the selected location will be displayed in the table.

Camera tree view with address distribution
The table includes a set of tabs. The number and name of tabs are configured in the client’s billing system. The default table contains at least two tabs:
Tab No.1 includes a group of cameras. It’s possible to add multiple tabs to group cameras according to certain properties, such as access restrictions, user type, and more.
Tab No.2 includes a list of user logins who have access to cameras.
In the current showcase, the interface with the Public, Private, and Logins tabs is used.
Selecting a row of a separate cameras will navigate you to the page with the camera details. More about the camera details is on the View, add and edit camera details documentation page.
Search
To initiate a camera search in the Search field, input a minimum of three characters. The search criteria include:
A camera name
An IP address
A camera UUID
The search is performed automatically as you enter characters. Consequently, only the cameras that match your search will be visible in the camera tree and table.
To return to the default view of the table, perform one of the following actions:
Clear the Search field.
Select the Х icon in the Search field.
Select the Clear filter and show all cameras button.
Transfer a camera to another branch
Provided that you have the necessary permissions, you can transfer cameras from one tree branch to another.

The Transfer to another branch button
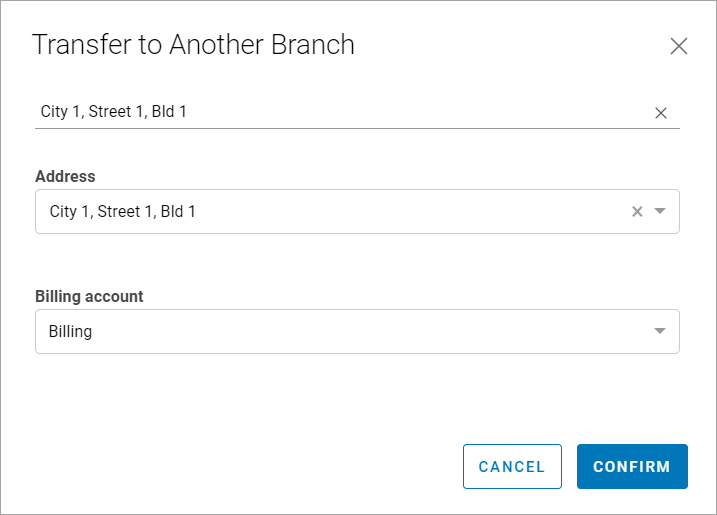
Select the Transfer to another branch button of a camera that you want to transfer.
In the opened form, enter at least three characters to search for a relevant address.
After selecting the address, choose the billing account number.
Select Confirm to transfer the camera to the specified branch.

The transfer process
Add a camera
You can add a camera in one of the options:
When in a camera list of a specific location.
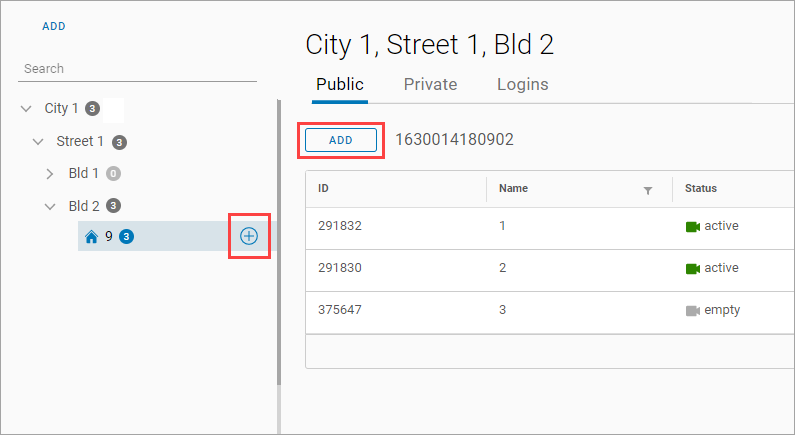
For this, select the plus (+) icon of this location or Add in the opened table. As a result, the camera will be added to the selected group with the prefilled address.

Adding a camera to a group
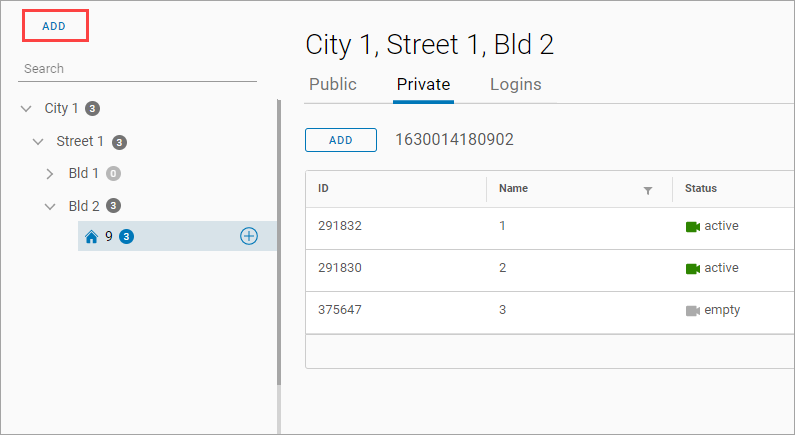
Add a camera without a specific address. For this, select the Add button above the camera tree. As a result, a camera without a specific address field will be added to the list of all cameras. You should edit the Address field of this camera to add it a specific location.

Adding a camera without a specific address
When a camera is added, you should manage the details and configurations of this camera. Detailed description is provided in the Viewing, adding and editing camera data documentation page.
