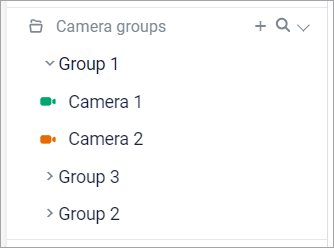
Camera groups
The Camera groups section is designed for organizing cameras into groups. Here, users can create and customize camera groups to suit their individual needs
Camera groups
Create a camera group
You can initiate creating a group in one of the following ways:
Expand the Camera groups tab and select the Pus icon (+).
Select the Add group button at the left-bottom of the window.
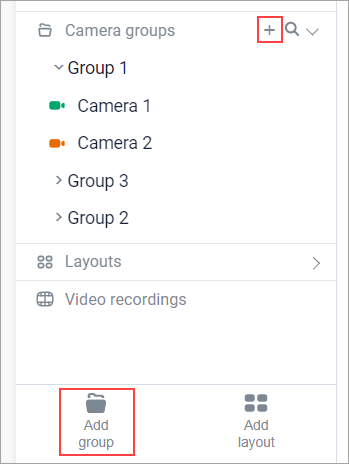
Buttons for adding a new group
Next, in the opened form, enter the group name and select Confirm.
When created, the group will appear in the list of Camera groups.
You can also add a camera to a group by dragging-and-dropping the cameras from the list of all cameras to the relevant group.
Add a camera to a group
To add a camera to a group, follow these steps:
Hover over the group name and select the Plus icon (+).
In the opened list, select the checkboxes of cameras to add to the group. For a quick camera search, use the Search field.
Select Save.
.png?inst-v=b63742cc-00c9-4c22-96cb-e64d375db7d7)
Once confirmed, the selected cameras will be added to the camera group.
You can aslo drag-and-drop a camera from the list of cameras to add it to a camera group.
Open in a layout
This function allows you to open cameras from a group in a new layout for simultaneous viewing of streams from the selected cameras. You can select up to six cameras.
To open cameras in a layout, follow the steps:
Hover over the relevant group.
Select the horizontal ellipses icon (…).
From the opened list, select Open in layout.
In the opened form, select up to six cameras.
Select Add.

Selecting cameras from the group to view in the layout
As a result, a layout with a name similar to the group name is created. The layout player opens in Archive mode with the possibility to switch to Live mode. For details on how to watch cameras in the layout, see this article.
.png?inst-v=b63742cc-00c9-4c22-96cb-e64d375db7d7)
View of grouped cameras in the layout
Rename a camera group
To rename a camera group, follow the steps:
Hover over the relevant group.
Select the horizontal ellipses icon (…).
From the opened list, select Rename group.
In the opened form, enter a new group name.
Select Confirm.
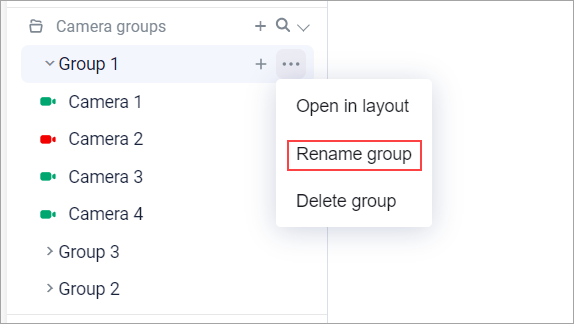
Renaming a group
Delete a camera group
To delete a camera group, follow the steps:
Hover over the relevant group.
Select the horizontal ellipses icon (…).
From the opened list, select Delete group.
Confirm the action.
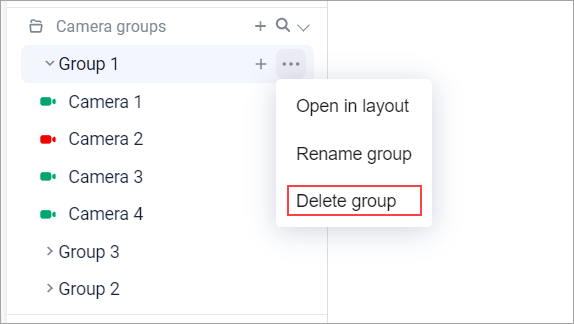
Deleting a group
Complain about the camera (report an issue)
You can report issues with the camera. For this, follow the steps:
Hover over a camera in the relevant group.
Select the horizontal ellipses icon (…).
Select Complain about the camera.
Specify the problem:
Foreign objects in the lens
No sound
No picture
Interruptions in work
Swing mechanism defective
Select the Complain the camera button.