Add a camera
Prior to integrating a camera, verify the availability of free licenses by navigating to the Statistics tab.
Should no licenses be available, an on-screen notification will appear upon attempting to create a camera.
.png?inst-v=b63742cc-00c9-4c22-96cb-e64d375db7d7)
An on-screen notification
To add a camera, specify the following details in the opened Create Camera form:
Name. Enter a camera name – up to 50 characters.
Camera group. Specifies the group the camera is added to – with Public or Private access within the main address. When in Private, a group of cameras is also specified. You can also change the folder by selecting a relevant option now or later. When changing to Private, additionally specify a group of cameras available within this main address.
Services. Here, you can select the Motion detection option for cameras that detect movement and send data via SMTP protocol. With this service selected, motion detection events from this camera are displayed as markers on the camera player timeline when viewing archived footage (if available). These events are also recorded and accessible under the Events > Camera tab.
Сamera schedule. You can set the working schedule for the selected camera: either or on a specific schedule. When the camera doesn’t work, the mediaserver stops receiving camera streams and won’t perform any reconnection attempts to the camera.
Full time – the camera works constantly.
Timetable – the camera works on a specified schedule.
The camera's operating schedule may differ from its archive recording schedule (see the Archive settings documentation page). Archive recording will follow the camera's operating schedule.
Archive recording stopped/Archive recording in progress. These are the informational indicators that display the status of the archive recording. When archive recording starts, the indicator changes to Archive recording in progress.
Buffered streams. This setting enables simultaneous server-side buffering of all RTSP streams of the camera, ensuring faster image loading in both mobile and desktop apps. The setting is applied to the mediaserver.
Sound enabled. The option is for cameras with audio recording capability. With this setting enabled, the audio stream is processed, recorded, and played back together with the camera video stream.
Camera with limited access. Selecting this setting enables a notification on the View in player tab. This notification will indicate that restricted access is now in effect. Consequently, all actions will be recorded in the log.
Intercom camera. This setting is displayed when the intercom module is connected and the user has the corresponding permissions. With this setting enabled, the camera can be selected as an intercom camera during its configuration (see the View and edit intercom documentation section). When viewing the camera tree and on the search page of intercoms, intercom cameras are indicated by a special icon.
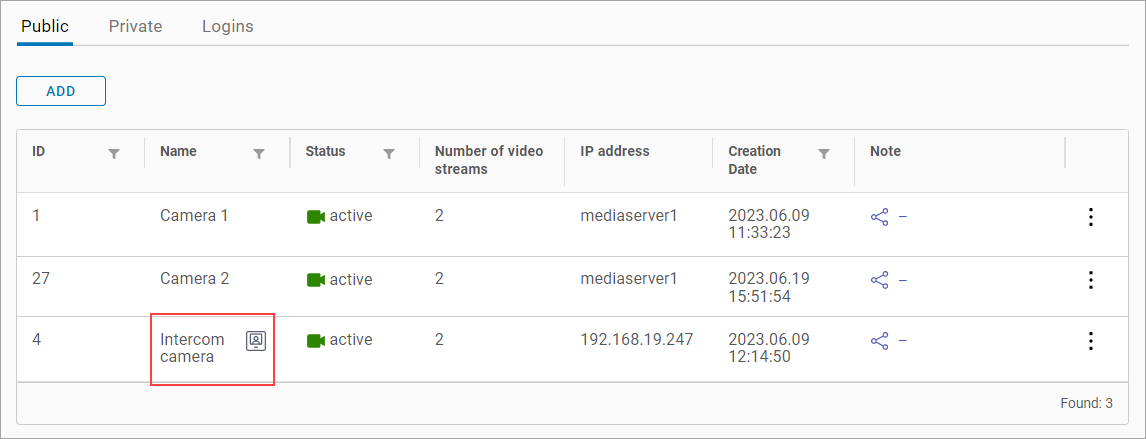
An intercom camera icon
Increased reconnection time. When this setting is enabled, the number of reconnections required to assign the camera the Problematic and Disconnected statuses is increased. A detailed description of the algorithm is provided in the Incorrect cameras section.
External access. Enable this option to set restrictions to access the camera. To allow access to the camera from a specific subnet, select Add subnet and specify an IP address and subnet mask. Enabling this setting without completing the subnet fields means camera access will remain unrestricted.
Map
You can specify the geographic camera location on the map.
Admins can also allocate a camera to the map from within the Cameras > Map section. For details, refer to the Map documentation page.
Admins can automate camera mapping by enabling the Setting up automatic adding of cameras to the map feature under Access Rights Settings. Next, cameras added to the platform for the first time via autoprovisioning and with specified geographic coordinates will automatically appear on the map.
To add a camera to the map, follow these steps:
Select Add camera.
Complete the Longitude and Latitude fields on the opened form, or drag the camera to the relevant point.
Adjust the camera rotation angle.
Select Add to complete the action.
To edit the saved location, select Edit position. Edit the location details or drag the camera to the relevant point.
Select Save.
To delete a camera from the map, select Delete camera from map and Save changes.
.png?inst-v=b63742cc-00c9-4c22-96cb-e64d375db7d7)
Adding a camera to the map
Once the camera is created, you can modify other camera settings available on the tabs.