All cameras
The All cameras section features:
View camera list.
Camera search.
View camera feed in Live and Archive modes.
.png?inst-v=1d934989-adc9-47d4-b93e-1c2e7354ae81)
All cameras
View camera feed
When you click on the camera name, the entire screen is occupied by a video player window for viewing the live feed. Archive viewing is also provided.
Please take into consideration that the intercom can be set up in a different time zone. This affects the date and time when you view live streams or archived footage, as well as when you export the archive. For details, see the Coordinated Universal Time (UTC) section.
A camera with an archive feature allows for viewing video in archive irrespective of the camera’s streaming status. The available archive range is limited by the storage time allocated to that particular camera.
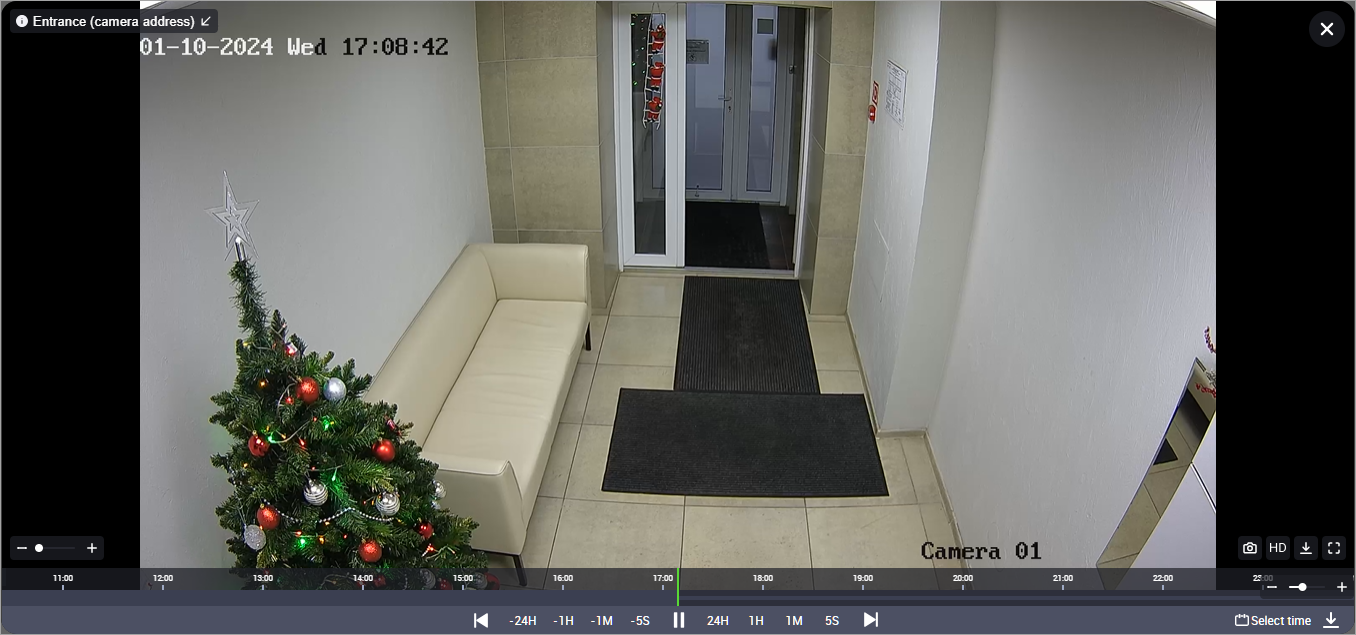
Camera viewing
The video player window functions are described in the View video in the player documentation section.
To organize a video wall for viewing streams from multiple cameras simultaneously, you should configure camera layouts.
Search for a camera
Camera search in the camera list is done by name.
To use the search, click the search icon and enter a minimum of three characters.
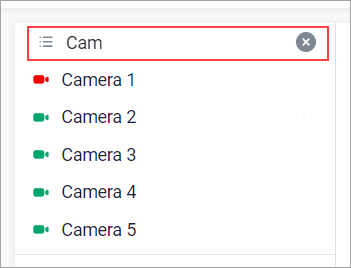
Camera search screenshot
As a result, the camera list will only contain cameras whose names satisfy the specified condition.
Context menu
There are a number of additional functions, such as renaming a camera, moving a camera to a group, etc., which are called up using the context menu.
To open the context menu, hover over the camera name and click on the Manage icon.
As a result, a context menu with a set of additional camera functions will be displayed.
Add a camera to a group
The function is designed to add a camera to a camera group.
The process of adding a group is described further in the Camera groups section
To add a camera to a group, follow these steps:
Hover over the group name.
Click the Manage icon.
In the list that opens, select the group to which you want to add the camera.
Click Add.
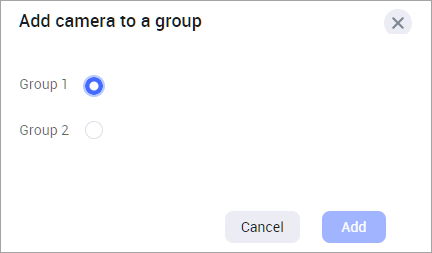
Group selection
After confirmation, the camera will be added to the camera group.
You can also add a camera to a group by dragging-and-dropping the camera from the list of cameras to the relevant group.
Open the camera on the map
To view the camera location on the map, follow these steps:
Select camera.
Click the Manage icon.
Select Open camera on map.
As a result, a separate window with the map will open. A camera icon will be displayed on the map.
Click on the camera icon to obtain information about the name and installation address of the camera. Also, the image from the camera at the current moment will be displayed.
To view the broadcast from the camera in Live mode, click on the camera icon in the preview window.
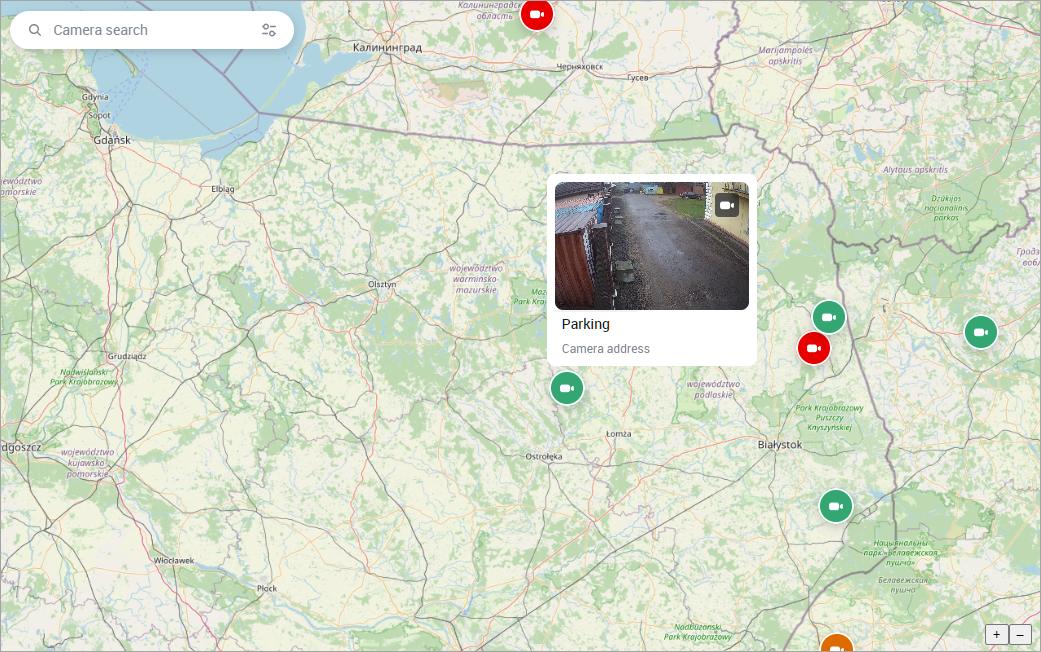
Camera location on the map
Set up a camera schedule
The function is available only if the current user is allowed to change the schedule settings of the selected camera in the administrator web interface.
By default, the camera continuously records the archive (unless the administrator has set a different schedule). In this case, it is possible to configure an archive recording schedule.
To set up a schedule, follow these steps:
Select camera.
Click on the manage icon.
Select Camera Schedule.
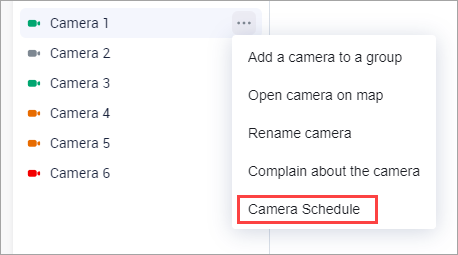
Camera schedule
Set up a schedule for the days of the week you need.
.png?inst-v=1d934989-adc9-47d4-b93e-1c2e7354ae81)
Setting a camera schedule
Select Add a schedule.
As a result, the archive will be recorded only on the specified days and time.
Rename the camera
To rename a camera:
Click on the Management icon.
Select Rename camera.
Rename the camera and press Enter or click on a blank part of the screen.
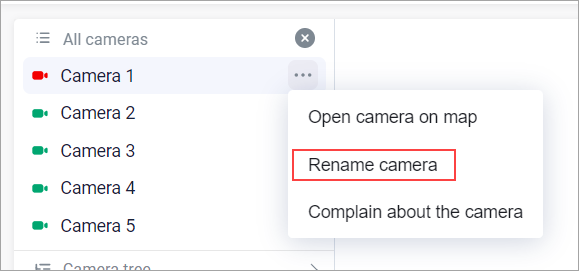
Renaming a camera screenshot
After renaming the camera, the camera's name will also change in other VMS clients.
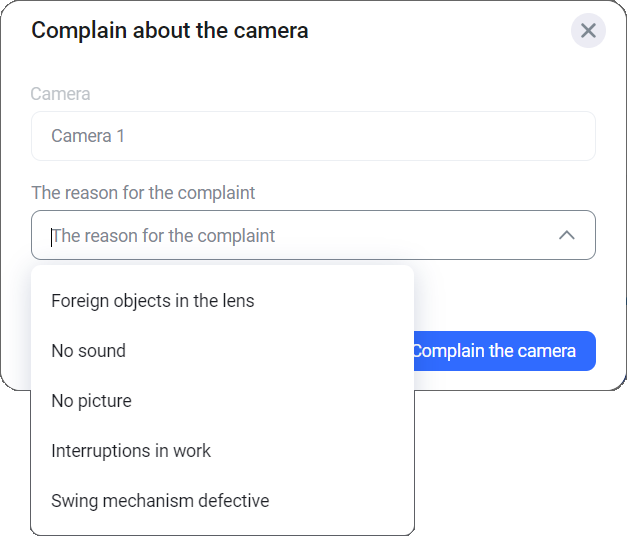
Complain about the camera
In case of camera problems, there is an option to report incorrect camera operation.
To do this, follow these steps:
Select the camera.
Click on the Management icon.
Select Complain about the camera.
Specify the appropriate problem:
Foreign objects in the lens
No sound
No picture
Interruptions in work
Swing mechanism defective
Click the Complain the camera button.
Reporting a camera issue screenshot
Get camera information
The function is designed to obtain additional information about the camera.
Select camera.
Click on the Manage icon.
Select Information.
As a result, an additional window with information about the camera will be displayed:

Camera information