
The System settings section includes the following subsections where administrator can manage relevant settings:
-
Access rights settings
-
Links
Access rights settings
Save each setting individually using its respective Save button.
In this subsection, the following settings are configured:
-
Under Permission settings, the administrator sets the number of simultaneous login sessions for client applications. These settings are configured individually for each type of user: system users (created by administrators), subusers, and billing users. Administrators can set a limit on the number of sessions for users depending on the system component: an intercom and video surveillance. Video surveillance includes Analytics, Bridges, cameras with the integrated Agent. By default, these settings are applied to all users. You can configure the number of sessions within the range of 0 (minimum) to 100 (maximum).
The administrator can configure session limits for an individual user in Administration > Users within the user card. For details, refer to the relevant User management documentation page.
The individual session limit overrides the global default settings.
-
Under Intercom settings > Limit the validity period of the client intercom temporary code, the administrator can set the maximum number of days for which a user creates a guest code and a guest link in the mobile app for their guest to access premises via intercom. This value restricts the range of dates available in the calendar when a user selects the validity period for a temporary code or link.
-
Logging levels of actions for each type of user: system users, sub-users, and billing users.
-
Default access rights configuration for the system and billing users.
Access rights settings are assigned by default to new users upon their first login. Subsequently, access is personalized in the user's profile.
-
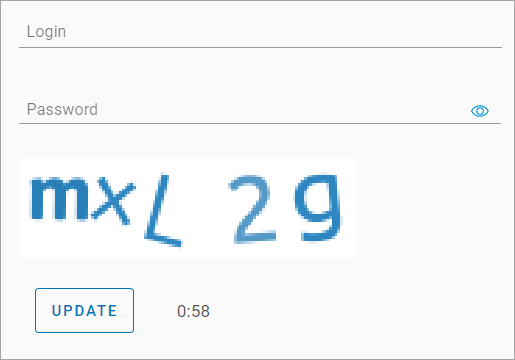
Under Login page settings, administrator can enable captcha display. When this setting is enabled, users will enter an alphanumeric code on the authorization page on the web and mobile apps. The code consists of Latin upper and lowercase letters (excluding the letter 'O') and digits from 1 to 9.
-
Under Setting up automatic adding of cameras to the map, administrator can enable the automatic placement of cameras on the map. This setting applies to cameras added to the platform through auto-provisioning for the first time. When this setting is enabled and the camera's geographic coordinates are specified during setup, the camera will automatically appear on the map in the sections:
-
Cameras > Map
-
Cameras > View a camera > the General data tab
-
The system administrator can edit and delete the camera location on the map.
Links
Save each setting individually using its respective Save button.
In the Links section, you find the Links and Support Links tabs to manage your relevant settings.
Links
In the Links subsection, configure the settings:
-
Add a link to enable access to the system performance monitoring service page. When the link is added, it becomes available from the Monitoring section, provided the user has the necessary system access rights.
-
Add and enable mobile app store links to allow users to easily download the app.
-
Google play for Android devices.
-
App Store for iOS devices.
-
App Gallery for Huawei devices running Android.
-
Once configured, these download links will appear in two places in the web interface:
-
The Login page: accessible to all users before authenticating.
-
The Settings tab: accessible post-login by navigating to Settings > About the system.
To add a link:
-
Enter a relevant URL in the corresponding field. If necessary, verify if the link properly works. For this, select the Link button. This will open a new browser tab for the link verification.
-
Save the link by selecting Save below the corresponding field.
-
To enable the added link, toggle its corresponding switch to the On position. To disable the link, set the switch to Off.
Reorder links in the list
To reorder links in the list, drag the icon ![]()
Support links
On the Support links tab, the administrator configures the feedback methods (email, chat, phone, or social networks) for users to connect with technical support. The selected communication channels will be displayed across all user interfaces.
Each contact link features the following information:
-
Contac type: email, chat, phone, or social network name. It’s read only.
-
Field for entering the corresponding contact details, such as a phone number, email address, or other relevant information.
-
The Save button is active only when the contact field is completed.
-
The Activity toggle: Off by default. The toggle is unavailable if the contact field is empty. When enabled, the contact is displayed in the user interfaces.
-
Link: opens the link in a new browser tab so you can verify that the specified value is correct. The button is available only when the contact field is filled in.
-
The Drag handle: lets you change the order of contacts.
-
The Clear button: clears the field. It’s active only when the field contains a value.
To add a new support link
-
Select a link type.
-
Enter details.
-
Select Save.
-
Once the field is correctly filled, a Success message is displayed, enabling the activity toggle.
-
You can use the Link action button to verify how the contact is displayed.
-
Drag the toggle to On. The “Success” message will be displayed.
-
The enabled communication channels will be displayed across all user interfaces in the Support section.
Reorder links in the list
To reorder links in the list, drag the icon ![]()