
On the Intercom > Events tab, mobile app users can find analytics events related to face recognition for the intercom. Analytics settings are managed by the administrator through their interface. Mobile app users, in their turn, can upload photos for use in face recognition to unlock the door.
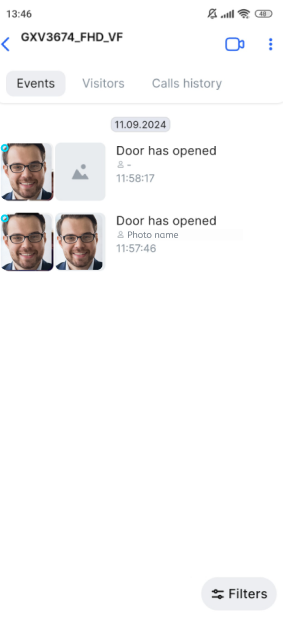
Events are displayed in chronological order and grouped by date, with the newest data appearing at the top of the list. To refresh the list, swipe down the screen.
Each event features the following details:
-
An event date.
-
An event photo received from the intercom.
-
A resource photo (if it is still available) that is used for Analytics to open the door. If the photo is no longer available, a system image will be displayed.
-
An event name.
-
A resource photo name (if a photo available). The name isn’t displayed if the photo is no longer available.
-
An event time.
Selecting an event opens a bottom panel. It contains the following information:
-
The panel includes an image composed of a cropped event image featuring the recognized object’s face, combined with a resource image. Selecting the image opens it full screen.
-
A camera name.
-
A camera address.
-
The Watch in player button. Selecting it opens the playback of the captured event if the archived footage is still available.
Filters
Users can filter events on the tab by following the steps:
-
On the Events tab, tap Filters.
-
On the opened tab, set relevant filters:
-
When you select Period, specify the start and end of this period.
-
Today.
-
Yesterday.
-
Week.
-
30 days.
-
Tap Apply filters to apply the set options. To cancel filtering, tap Reset.
Additional management options for the intercom
Additional intercom controls are available to the user on the Events tab.
-
Tapping the Camera icon will navigate to the intercom camera player. For details, see the Open an intercom camera article.
-
Tapping the context menu icon (⋮) at the top right, will open the tab with the following management options: