Add files to the project
You can add video files to the project in one of the following ways:
From within the selected project in the Archive manager section.
From within the Downloads section on the Uploaded files tab.
When adding files to the Archive manager, pay attention to the following details:
The maximum total video duration allowed for a single project is 60 hours.
Each individual cell in the editor can hold a maximum of 10 hours of video.
A maximum of 6 cells is available in a layout.
Only MP4 files are accepted.
Each individual video file can’t exceed 1 hour in length.
Add files to the project in the Archive manager section
This file upload option works for both new and existing projects.
To add files to the project, follow the steps:
Open a relevant project.
Select the Create project button.
In the opened window, select files to add to the project. (For information about how to download archive segments from a video camera to further edit it in the video editor, see the article: Archive/DVR. The general timeline and Downloads.)
Confirm selection.
The system fills layout cells in the editor sequentially, regardless of the chosen layout. Each cell can hold up to 10 hours of video. The system fills the first cell completely before moving to the next, and so on. Once all 6 cells are full, no further videos can be added.
Each successfully uploaded file is represented on the timeline by a distinct colored segment. Hovering over this segment displays a tooltip indicating the exact name of the video file.
Next, you can edit the video. For details, see the Edit video documentation section.
The project with the added files
Add files to the project from the Downloads section
This method simplifies project creation by allowing you to instantly generate a new project from selected files within the Downloads section. If you need to incorporate files into an existing project, please follow the previously described option.
For detailed instructions on how to add files from within the Download section, see the Uploaded files tab documentation section.
Each time when you select to add files from the Downloads section, it results in the creation of a new project within the Archive manager. Once a project is created, you’ll be automatically redirected to the Archive manager section directly into this project. The project will open in the following way:
When sending more than 6 files, the system fills the editor layout cells as follows: the first cell is filled up to its maximum capacity of 10 hours. Subsequent cells are filled in order until all files are placed. If all 6 cells are occupied, adding more files becomes impossible.
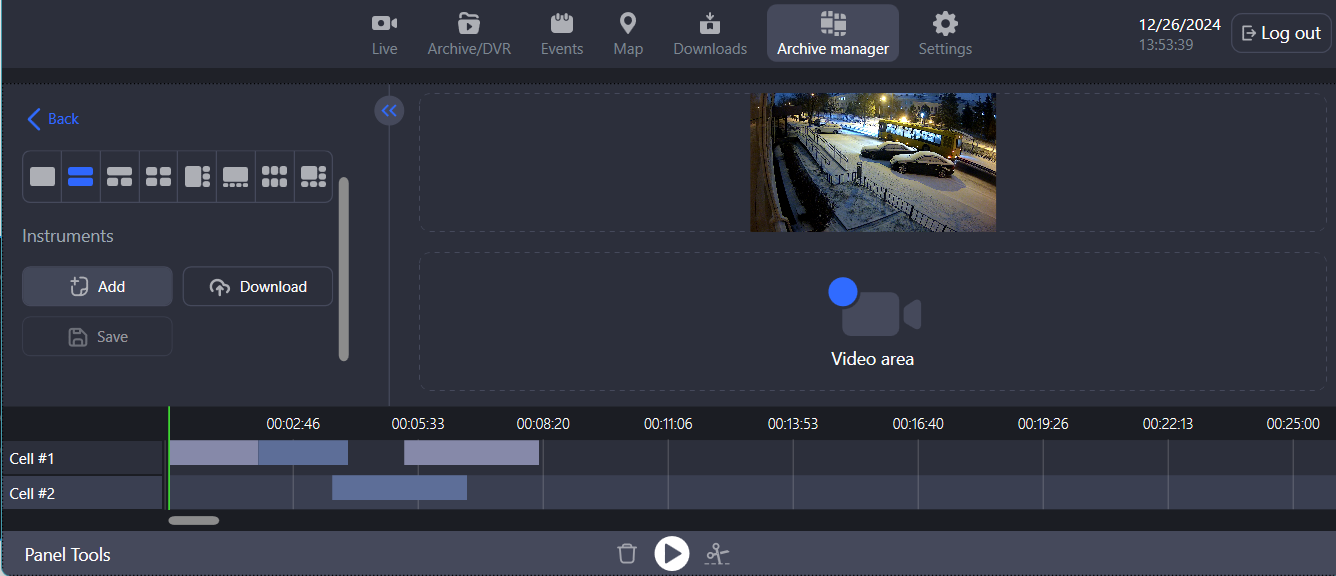
When sending 6 or fewer files, the editor will open a layout optimized for the number of files.
.png?inst-v=b63742cc-00c9-4c22-96cb-e64d375db7d7)
A layout with two cells
Each successfully uploaded file is represented on the timeline by a distinct colored segment. Hovering over this segment displays a tooltip indicating the exact name of the video file.
Next, you can edit the video. For details, see the Edit video documentation section.